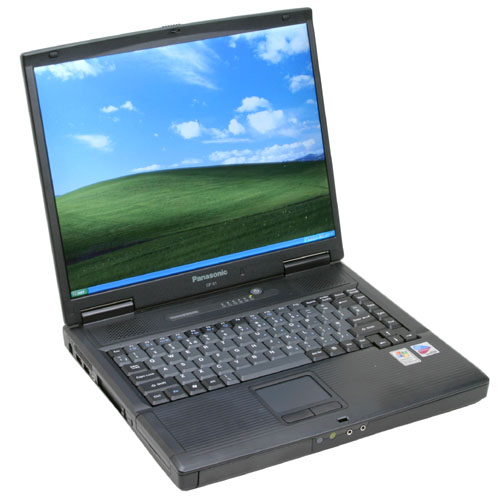
I’ve got in my hands a Panasonic Toughbook CF-51 and I didnt went to work because of thanks giving day, so I was there waiting with this laptop and a little spare time, so to kill some time I’ve decided to disassemble the laptop and put it back together.
This are not instructions on how to take apart your laptop, this is only my experience and what I’ve learned, so here I go.
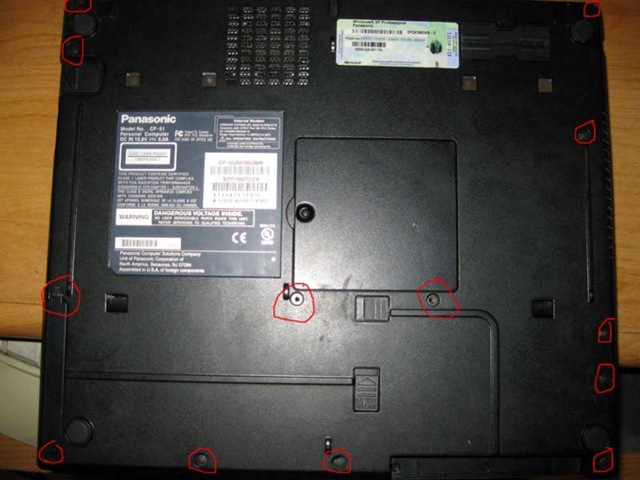
The first thing I did, was to remove the battery, and the cd, for the battery, I had to use a small screwdriver to pop the cover. Then I removed all the bottom screws, there were 13:
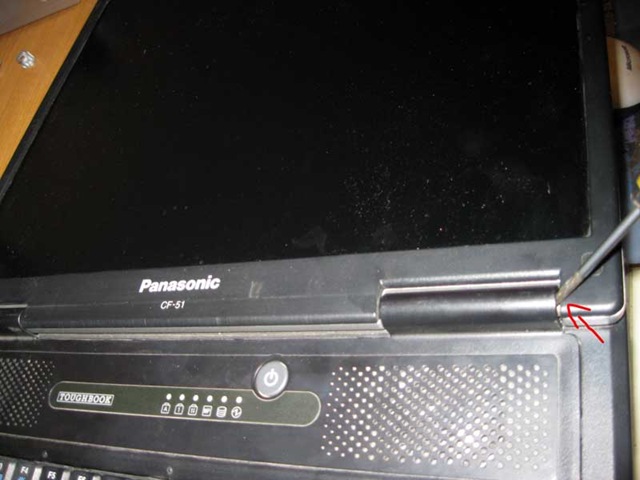
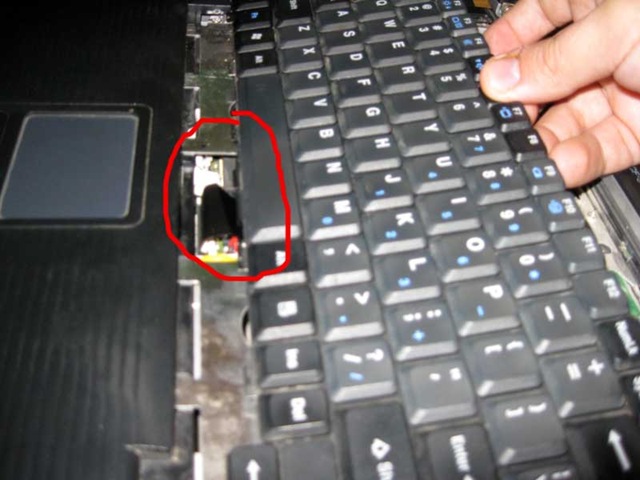
To remove the keyboard I had to pop the frontal speakers cover, I’ve inserted a screwdriver beneath the lcd base, and carefully pull the cover:
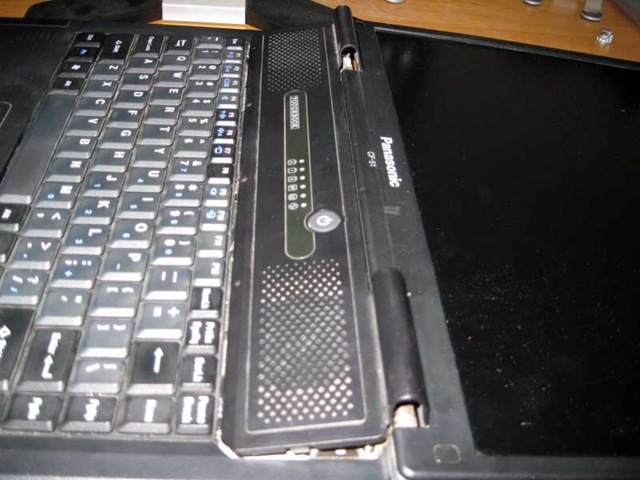
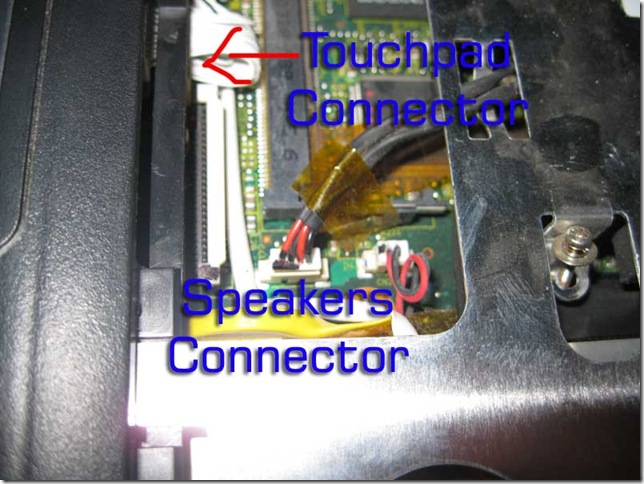
Once the speakers cover was removed lift the keyboard and found that it is attached near the touchpad, it has a little white clip, that you need to pop in order to remove the cable.
After removing the keyboard, I had to remove the screen to access the main board, to do this there are 4 screws that support the screen, there are 2 on each side:
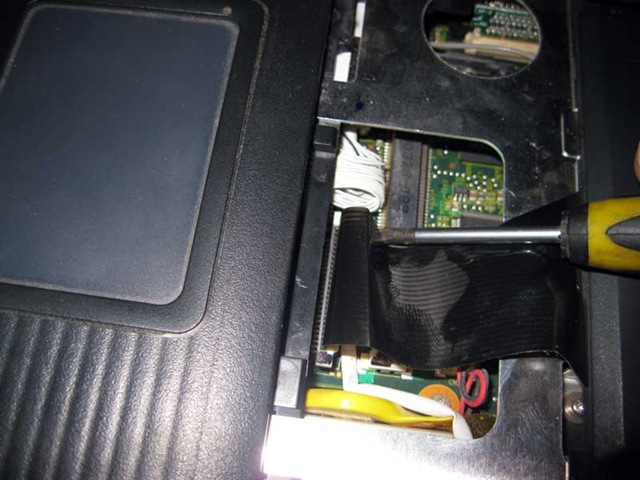
After removing the 4 screws we can move the screen but It has to be unplugged from the main board, and the connectors are located under the speakers, so I had to remove 7 more screws to have access to the lcd connectors:
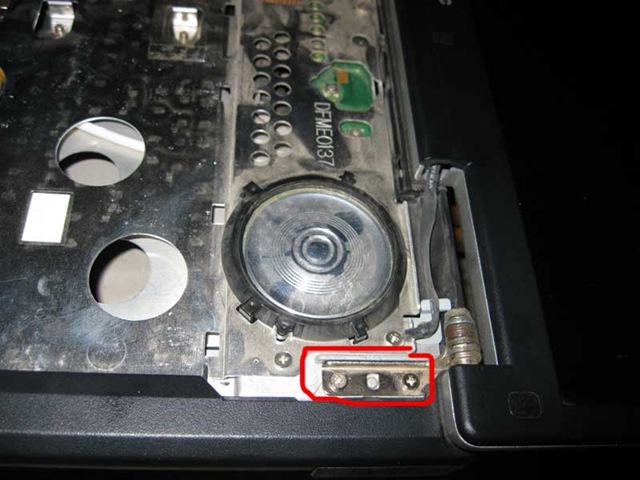
Before removing the speakers and the touchpad section unplug them, the connectors are located near the keyboard connector:
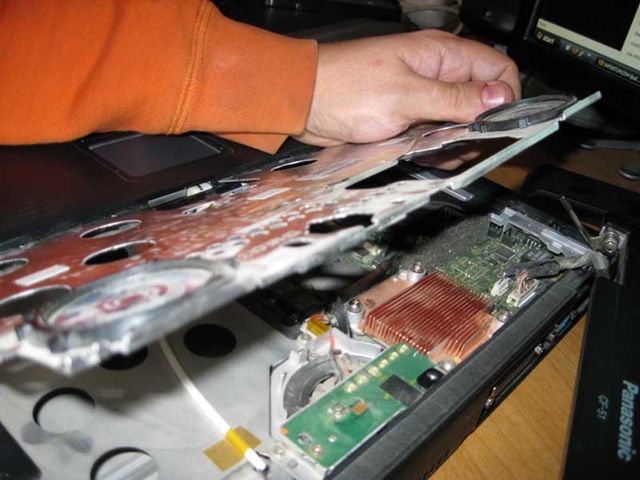
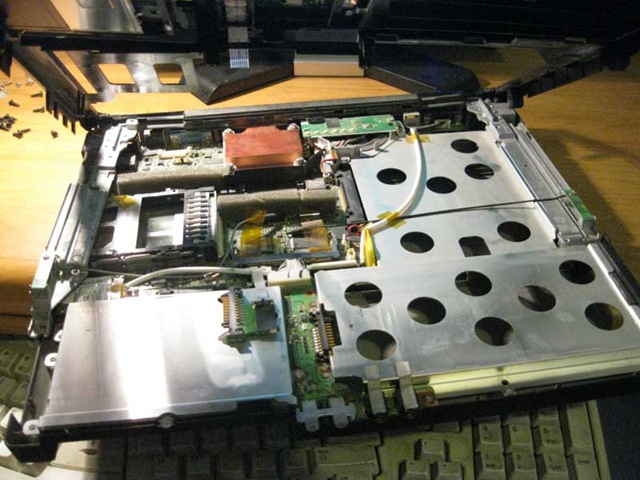
Here is the top cover removed:
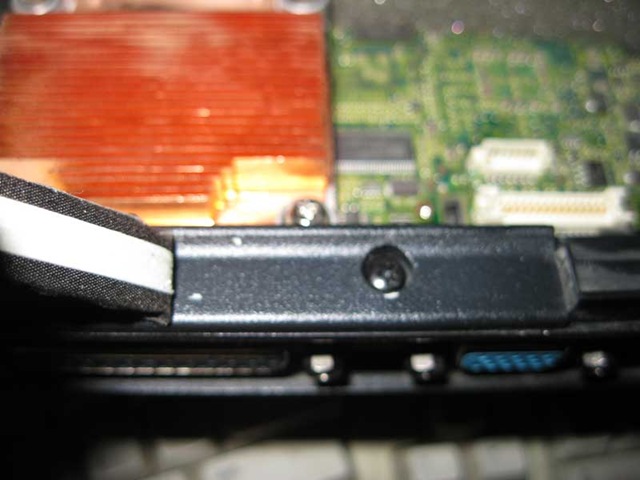
From this point the only tricky part was finding 2 screws that are at the bottom of the lcd base, covered with a sticker:
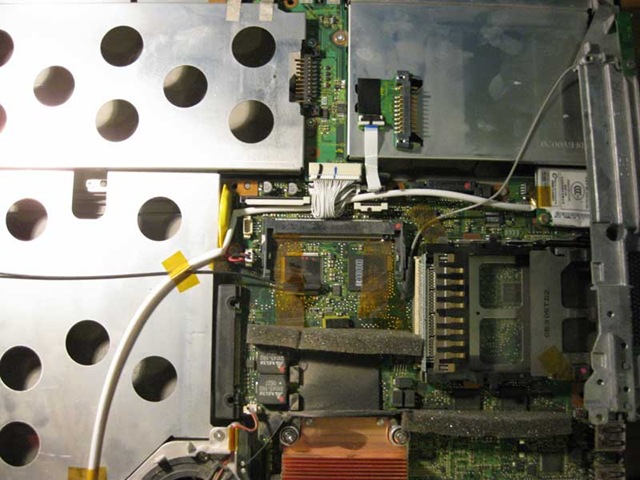
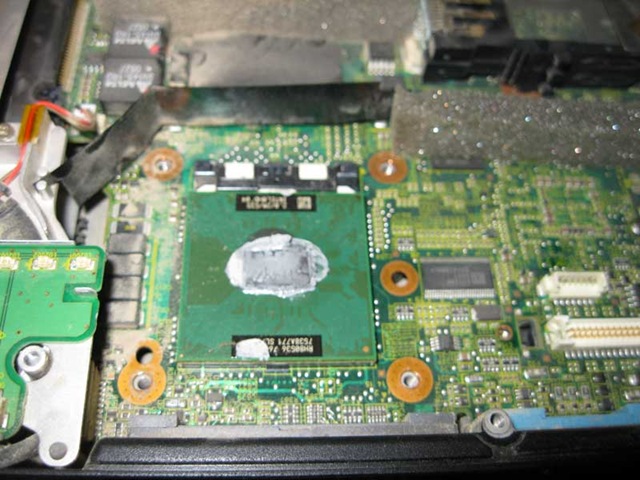
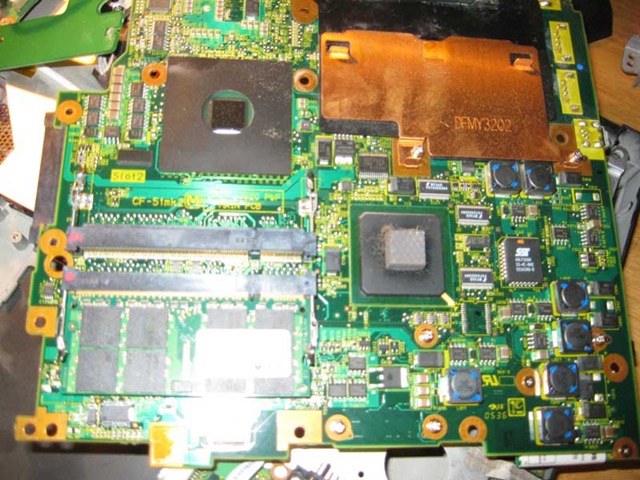
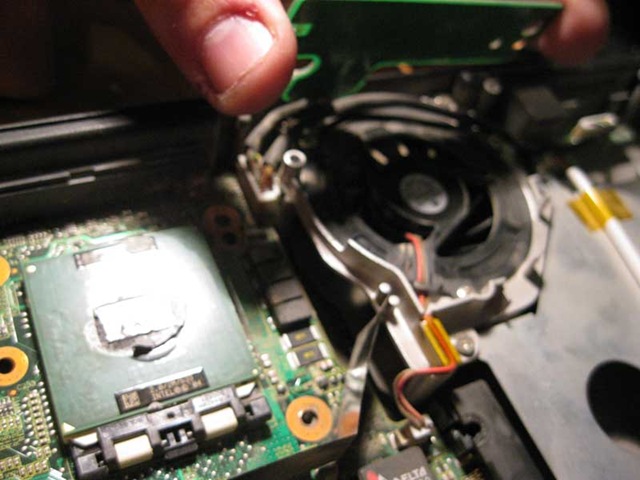
I continued removing parts but there wasn’t any other tricky part, here are some more pics: